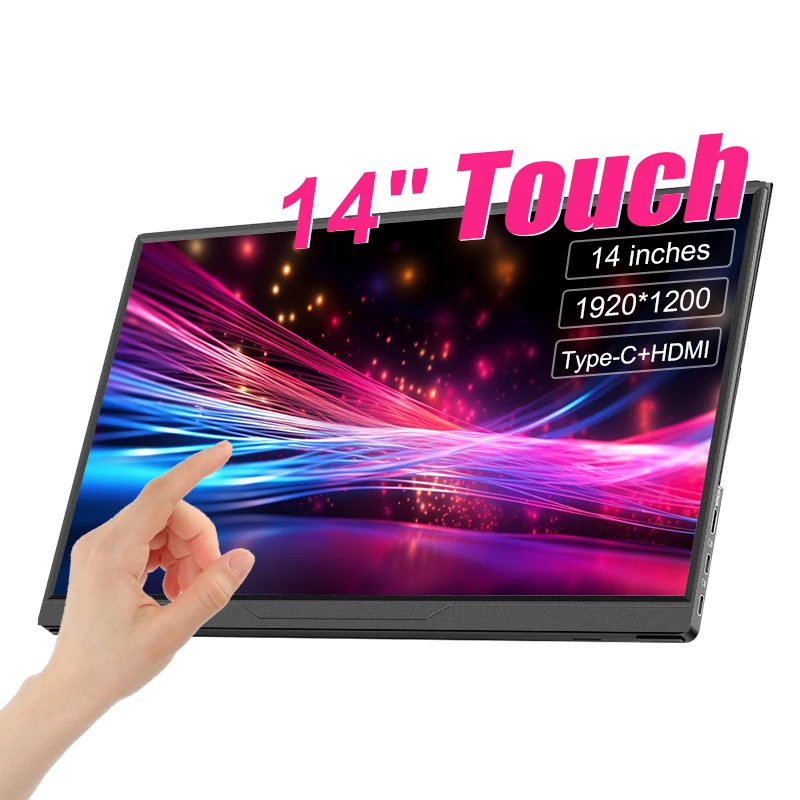
When a portable display flashes a brief logo, announces "No Signal," and goes black, the panel itself is rarely broken. Almost every signal failure comes down to three bottlenecks: cable capability, port protocols, or power starvation.
Plug an external wall adapter directly into the monitor's secondary power port before connecting it to your laptop. If the screen suddenly wakes up, your computer's port simply could not deliver the amperage required to negotiate video output.
1. Verify the USB-C Port Protocol
A physical USB Type-C connector only dictates the shape of the plug—it does not guarantee that the port transmits video. Standard USB-C ports on many budget laptops and desktop motherboards only route USB 2.0 or 3.2 data and baseline battery charging.
To run a portable monitor over a single cable, the host device's port must support DisplayPort Alternate Mode (DP Alt Mode), Thunderbolt 3/4, or USB4. According to technical documentation from VESA's DisplayPort on USB-C standards group, connection dropouts frequently occur because the host system connector simply lacks DisplayPort routing hardware.
How to check your host port:
- Look for port markings: A lightning bolt icon indicates Thunderbolt; a stylized "D" or "DP" symbol indicates DisplayPort Alt Mode.
- Review manufacturer specs: Check your specific laptop model sheet for "DisplayPort over Type-C" or "video out." If it says "data transfer only," it will never send a picture directly to the screen.
- If your port is data-only: You must bypass USB video entirely by using an HDMI or Mini HDMI cable for video, paired with a separate USB cable plugged into an external brick for power.
2. Check for "Charge-Only" Cables
All USB-C cables look nearly identical from the outside, but their internal wiring varies significantly:
- Phone and laptop charging cables: The white cord shipped with MacBooks or replacement phone chargers often carries high wattage but only USB 2.0 data lines (480 Mbps). They lack the high-speed differential pairs required to transmit video signals. Plugging one in will power the monitor's menu backlight, but it will immediately show "No Signal."
- Full-featured Type-C cables: To transmit a display stream, you need a cable rated for DP Alt Mode, USB 3.2 Gen 2 (10Gbps+), Thunderbolt, or USB4. If you replaced the cord that arrived in the monitor's original packaging with a standard charging cable, swap it back to test.
3. Rule Out Power Starvation
A portable monitor typically draws between 5W and 15W, with spikes occurring during initial handshake, brightness boosts, or internal speaker playback. Many laptop USB ports limit passive output to 4.5W (5V at 0.9A) or dynamically throttle output when the laptop is running on battery saver mode.
When the panel fails to draw adequate current during the initial video negotiation, the internal controller resets itself, triggering an infinite boot loop or a sudden drop to "Power Saving / No Signal."
- Plug an independent 15W+ USB-C wall charger into the monitor's dedicated power port.
- Connect your video line (either your full-function Type-C or HDMI cable) from your computer to the monitor's primary input port.
- Turn the monitor on. If the picture stabilizes, the laptop port was unable to sustain single-cable operation.
4. Inspect Port Assignment on the Monitor Chassis
Most portable displays offer two or three physical ports along the side bezel. These are rarely identical:
- Power Delivery Only Port: Labeled with a battery or lightning icon. This port feeds electrical power to the logic board but has no connection to the internal display scaler. Connecting your computer's video cable here guarantees a "No Signal" prompt.
- Full-Function Type-C Port: Labeled with a screen icon or "Type-C." This port accepts both power and DP Alt Mode video streams.
- Mini-HDMI Port: Video-only. This port cannot receive or transmit power; a companion USB cable must always be connected to supply operating voltage.
If your device has two identical-looking USB-C ports without legible silk-screened markings, consult your user documentation or test both ports with external wall power attached.
5. Bypass USB Hubs and Splitters
Plugging a portable monitor into a cheap passive USB-A to USB-C adapter, or through an unpowered multi-port desk hub, is a frequent culprit. As noted by VESA guidance, standard USB hubs do not pass native DisplayPort signals across intermediate ports. Always connect the display cable directly to a native port on the computer chassis when diagnosing a signal fault.
6. Correct Operating System and Resolution Mismatches
Occasionally, the hardware link is sound, but the operating system fails to complete the display handshake or attempts to output a timing profile the portable screen cannot decode:
Press Windows Key + P and confirm your projection setting is set to Extend or Duplicate, not "PC screen only." Next, open Settings > System > Display > Advanced Display. Verify the refresh rate is set to 60Hz. If your GPU defaulted to 120Hz or 144Hz on a standard 60Hz portable panel, the monitor will show no picture.
Open System Settings > Displays. Hold down the Option key to reveal the "Detect Displays" button if the portable monitor is not listed. Ensure the selected resolution matches the panel's native specification.
For advice on matching panel specifications, wattages, and interface standards before buying, read our guide on how to choose a portable monitor for your laptop workspace.
If your screen still shows "No Signal" after testing with dedicated external wall power, a known DP-capable cable, and direct connection to a verified DP Alt Mode port, test the screen against a second device (such as a gaming console or desktop HDMI port) to isolate whether the failure lies within the monitor's internal scaler logic.